X-ray Residual Stress Measurement
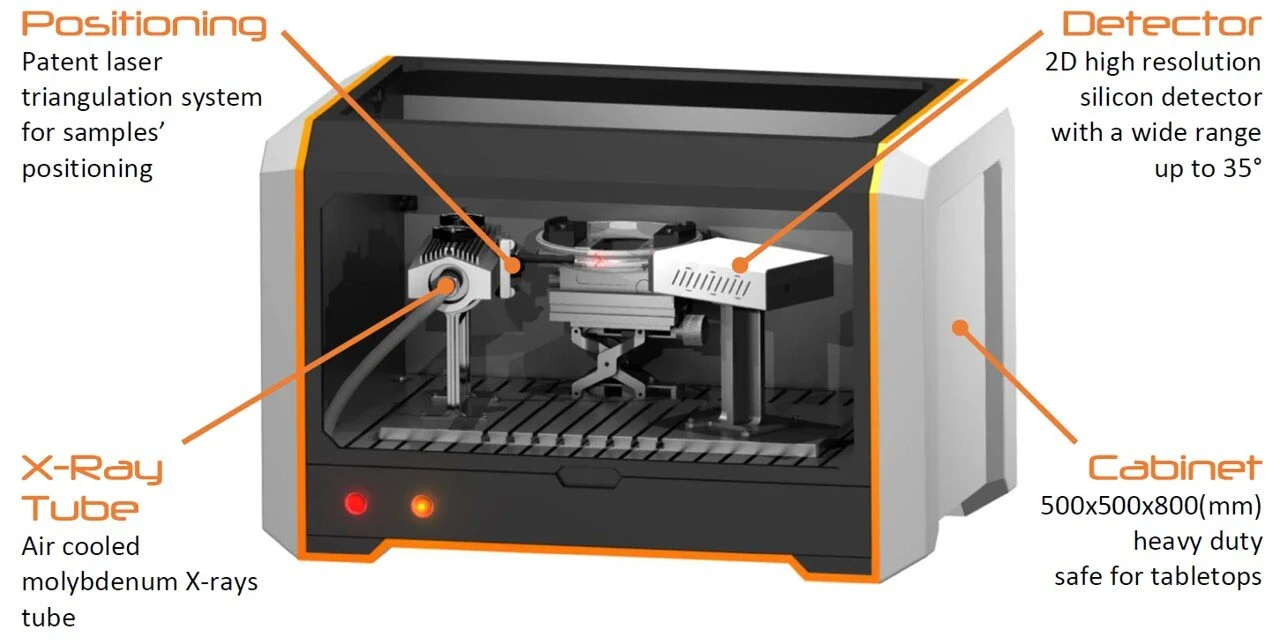
Stress-Space Ltd is the UK sales distributor for the X-Raybot residual stress measurement equipment illustrated here.
Please contact us for further information or to arrange for a demonstration.
Watch the all new Adaptive XRD
What users are saying
X-Raybot
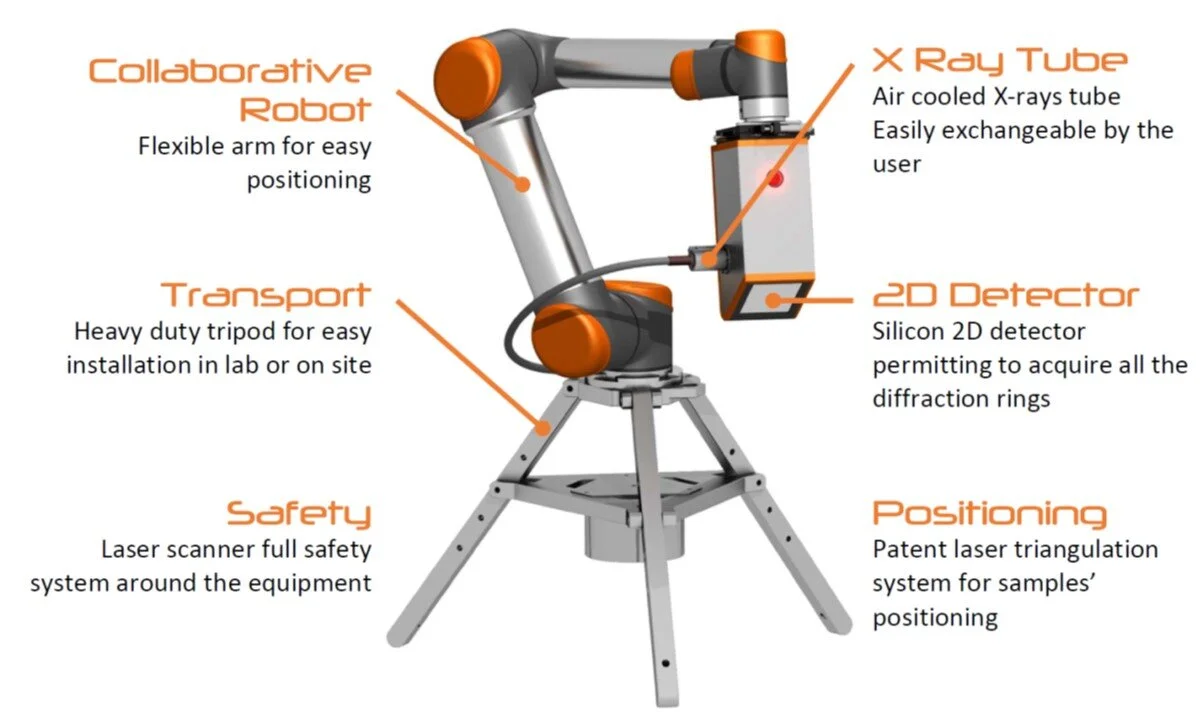
The X-Raybot is an X-ray diffractometer developed by MRX Mesures Rayons X for residual stress analysis.
It is mounted on a 6-axis robot, uses a laser triangulation system for accurate positioning (to EN 15305-2008) and is furnished with the latest generation (air-cooled) X-Ray tube and Si solid state detector.
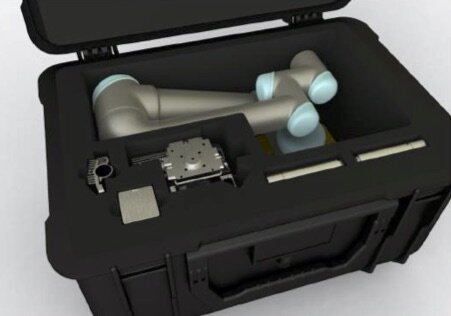
The robot is portable for on-site use (no cabinet required) as well as in the laboratory, and benefits from the powerful StressDiff data analysis software supplied.
The unique selling point of the system is its capability to account for the local curvature of surfaces where the surface normal is non-vertical.
X-Raybot:- Robot for Residual Stress Measurement
Light & easy transportation
Robot Options
The X-Raybot goniometer can be mounted on 3 sizes of robot:
A large arm (150 cm) for industrial use
A medium length arm (120 cm) for lab use
A small arm (80 cm) for portable use
The large robot requires a heavy duty mounting frame, whereas the medium and small robots can be mounted on either a fixed frame for laboratory use or a portable stand for “in-situ” use.
Electrolytic Polisher
For X-Ray diffraction residual stress depth-profiling
Digitally controlled polishing power
Stainless steel pump with adjustable flow
Standard and custom made probe tips
Weight: 7 kg
Dimensions W x L x H: 24 cm x 32 cm x 20 cm
Input power: 110/220 V AC 50/60 Hz
Output power: 0 - 48 V DC/0 - 11 A Adjustable
Retained Austenite
Diffraction diagram acquired in less than 1 minute
Full fitting of the diffraction pattern
Account for curvature of the diffraction rings
Account for existing carbides and nitrides
2D X-Ray diffractometer
Multiple exposure technique to avoid significant systematic errors existing in the classical cosine α method
Complete stress tensor components evaluated in less than 1 minute
Robust error bars evaluation according to the Guide of Uncertainties in Measurements (GUM)
The diffraction rings can be described by more than 300 polar diffraction diagram cuts
Each diffraction pattern is fully fitted through a non-linear best fit method that permits to account for overlapped peaks


